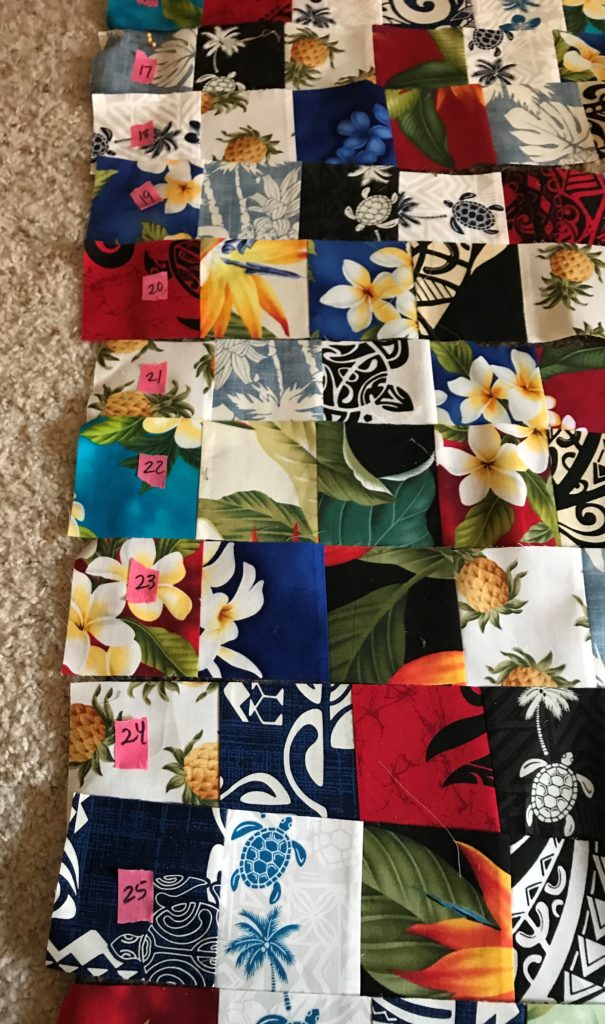
We started this quilt with some square packs and a few fat quarters… it seemed… But there turned out to be far more squares (almost 600!) than we anticipated and our quilt grew from lap to queen size!

After we stitched rows of squares we laid the rows out on the floor to avoid like fabrics touching and keep the truly random look. We also wanted to arrange the rows so the direction of the seams alternated for less bulk where four corners would meet.
But then they had to be carried to the sewing room! How to keep them in the correct order? We used one our favorite sewing aids – pink tape – otherwise known as Floriani Embroidery Perfection Tape – to label the row numbers and make sure we stitched them together as placed.


This tape is so handy for so many things – check out our other posts! It sticks easily but doesn’t leave any residue – it’s definitely better than painter’s tape or masking tape! And it’s so pretty! Using it to mark our rows let us take a few at a time to the sewing area and keep everything in order. That’s especially helpful if you have only short time spans to sew.
Now to add borders and backing and get this quilted! If you have a long arm quilter it would be super easy, but we’re looking to create a wave effect (get it – Hawaii…waves…?!) and just use a serpentine stitch to quilt it as done here –


Hope our recipient likes it!
Aloha!